

Have you ever wondered what goes on during an event’s load-in day? If so, you’re in the right place!
While the exact process and schedule may look a little different depending on the size and scope of the set-up, as well as the venue rules and the amount of time your crew has in the space, there are some components that are pretty standard.
Check out our behind the scenes look at load-in day!
What Happens on Load-In Day.
Load-in day for any event has one goal: to get the stage and all technical equipment unpacked and set up so that it’s ready to go for rehearsals.
For larger events with extensive builds and a large crew, load-in may take several days, but the general process and goals are the same regardless of the exact schedule: we’re there to unload the equipment, build the physical infrastructure of the event, test all technical systems, and do any necessary configurations before rehearsals.
The Day Before.
The majority of the time, the load-in process actually begins before we arrive onsite.
In the day, or even week, prior to load-in, our team uses the pull sheet to pack all equipment for the show, do any last-minute quality checks needed, and make sure everything is accounted for. Essentially, everything on the “before set-up” section of our onsite checklist takes place before we actually arrive onsite.
Arrival.
The primary point of contact with the venue will arrive ahead of the rest of the crew to check in with the venue management team and make sure everything is running according to schedule. This includes making sure there are no delays in access to the event space, the freight elevators, or the loading dock.
If it’s a venue or room we haven’t worked in before or regularly, the point person may walk from the loading dock to the event space, making sure they know exactly how to get there and what paths the crew should take.
Once the crew arrives, the point person will show them how to get into the space, including where and how to access any freight elevators and pointing out any areas of the venue they should avoid using.
The crew then starts to unload everything from the truck, using road cases with wheels or carts to move gear as quickly and efficiently as possible.
We always make sure that our cases are labeled so that we can organize the gear as we unload it.
Our Process.
Once the equipment is unloaded, we go through the pull list and make sure everything is present and accounted for. This includes laptops, displays, lighting equipment, mixers, control boards, speakers, and more.
We also verify that all necessary cables (and a few extras), as well as any adapters, like HDMI, VGA, XLR, and USB-C, are accounted for and readily available.
We usually create a station of all ancillary equipment that may be needed for set up, like gaff tape, batteries, scissors, a pocket knife, a first aid kit, extra hard drives, and more, so that any member of the crew can easily find them.
We also make sure that all of the outlets, especially those that we plan to use, are working.
Crew Meeting.
Before set-up gets fully underway, we have a crew meeting with the entire group. During the meeting, we distribute technical drawings, talk through the schedule, and make sure everything is on the same page.
We especially make sure that the lead for each area has a thorough understanding of the room set up and knows who they should go to with any questions that arise.
Unpacking and Set Up.
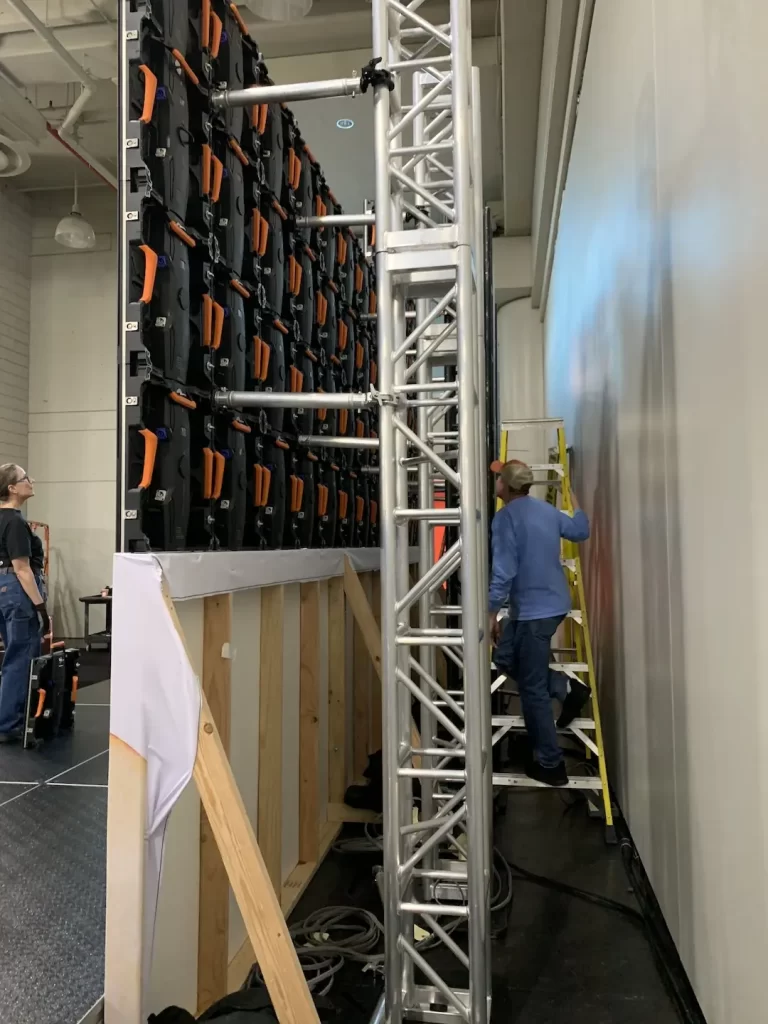
Beginning with any necessary rigging, we hang the speakers, projectors, and lights. This also includes building any truss systems we need, LED walls, or other screens.
Long bundles of cables are run to all of this equipment, and video cables are taped down as cleanly as possible.
Next, the tech tables are set up, and we make sure that power distribution boxes and local network feeds are running to the tables.
Once those are set up, each technician will get their area set up and organized.
Configuring Sources.
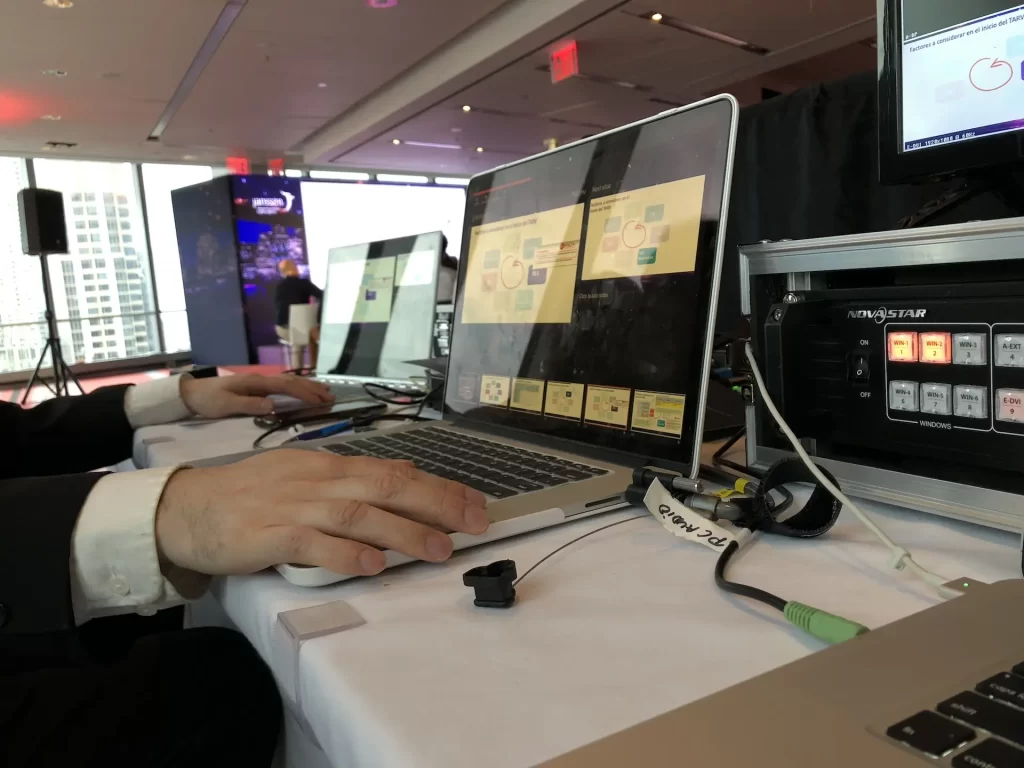
Once all of the large equipment is unpacked and built, each department or technician will get their area set up, organized, and configured.
Audio.
The audio technicians will unpack all of the microphones and configure them to channels on their audio console. They’ll then label each microphone and channel.
They’ll configure all other audio, like VOGs, music, playback, and graphics, if any audio will be coming directly from the graphics machines.
Once everything has been configured, the audio technicians will tune the audio and adjust levels.
Lighting.
Similarly to audio, all lighting will be plugged in and configured, with lighting pre-sets being created and cues configured.
Visuals.
Whether the event features an LED wall or a projector (or some combination of the two), the displays will be turned on and fine tuned.
The first step is configuring them with the video switcher so that a visual can be displayed on the surface.
With projection, the team will make sure the throw distance is correct and adjust the focus and zoom lenses using a test pattern or grid to make sure everything is lining up correctly, the visuals are sharp and clear, and the colors are appearing correctly.
For the LED wall, once the modular panels are interlocked and wired together, the display is mapped. Similarly to the projector, a grid or test pattern can be used to make sure everything looks correct and cohesive.
The techs will then click through video content and presentations to make sure that all of the files are being read correctly and are to the right scale.
Content.
The graphics and playback operators will make sure their machines are booted and connected to any necessary networks. They’ll download all necessary presentation materials, including any fonts they may not have.
Clean Up.
The gear has been unloaded, the set has been built, everything is set up. Which means the room is filled with empty cases that cannot stay there throughout the length of the show.
Sometimes they go back to the truck; other times they’re brought to an offline room where they’ll be stored until strike. Oftentimes, cases are moved throughout the set up process to keep work stations clean and organized.
Before set up is complete, all cables will be taped down, if they haven’t been already, and anything that still needs to be labeled, will be.
Each technician will also make sure their work station is clean, organized, and presentable.
Testing.
The stage? Built.
The equipment? Set up and configured.
The room? Spotless.
The tech table? Perfectly organized.
The event space is, from an AV perspective, ready to go.
Now it’s time to test everything.
Even though initial checks took place during the setup process, it’s important to run through everything now that all components are live to make sure there aren’t any issues with syncing or any connectivity issues that need to be addressed.
Audio levels are checked, all the microphones are tested, and all cues are run through.
Graphics and playback are tested on the big screen, including back up machines.
Lighting cues are run through.
While all this is happening, the crew is working together and communicating to make sure everybody understands what will need to take place during big transitions.
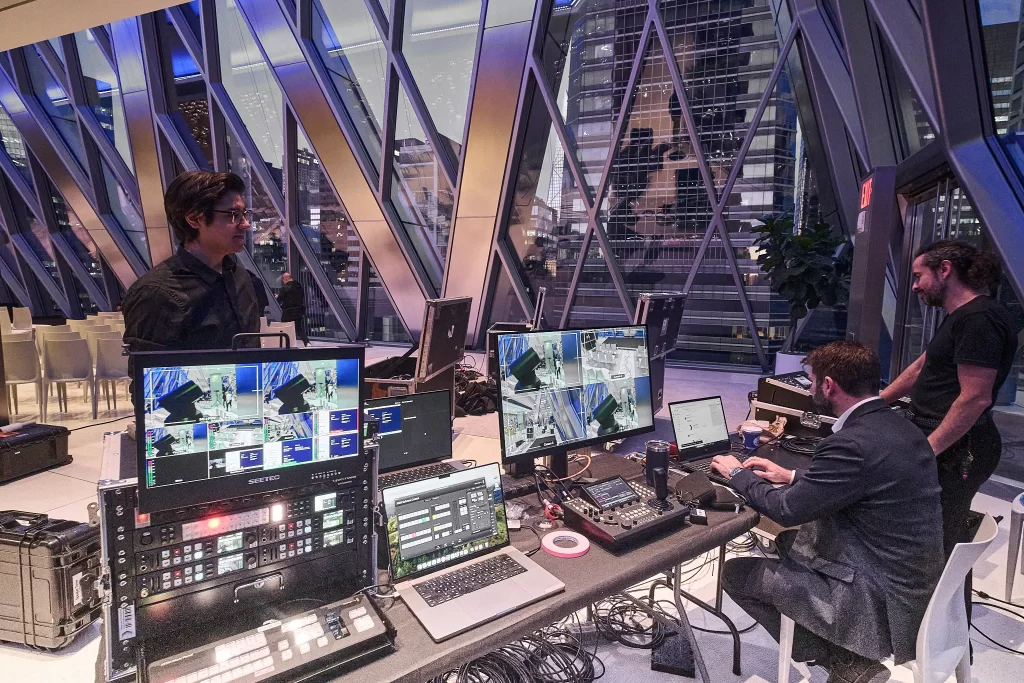
Depending on the size and scope of the event, it’s more than possible this process will take more than one day. It’s also possible that the set up will be truncated into a half day with rehearsals or technical run throughs taking place in the afternoon.
The exact set up schedule and allotted time really depends on the needs of your event, how much time you have in the event space, and the size and experience of the crew.