
In Process Spotlight: Building the Showbook, we shared how a comprehensive showbook guides our preproduction and onsite process. One of the final sections of the showbook is our onsite checklists.
Despite having decades of combined experience on showsite, we continue to utilize these checklists, and even expand them when necessary, because we understand how important these final stages of the event are – and how one small detail can easily go unchecked.
The goal of an onsite checklist is to make sure that even the most basic tasks (and sometimes, especially the most basic tasks) are listed. We know that things that often feel like second nature or that we’re used to doing on autopilot can be the first to get missed during a busy set-up, a hectic day of rehearsals, or a jam-packed day of sessions.
While the checklist we shared in our process spotlight blog was a condensed version, we wanted to share a full onsite AV checklist example to show just how much detail goes into a flawless AV experience.
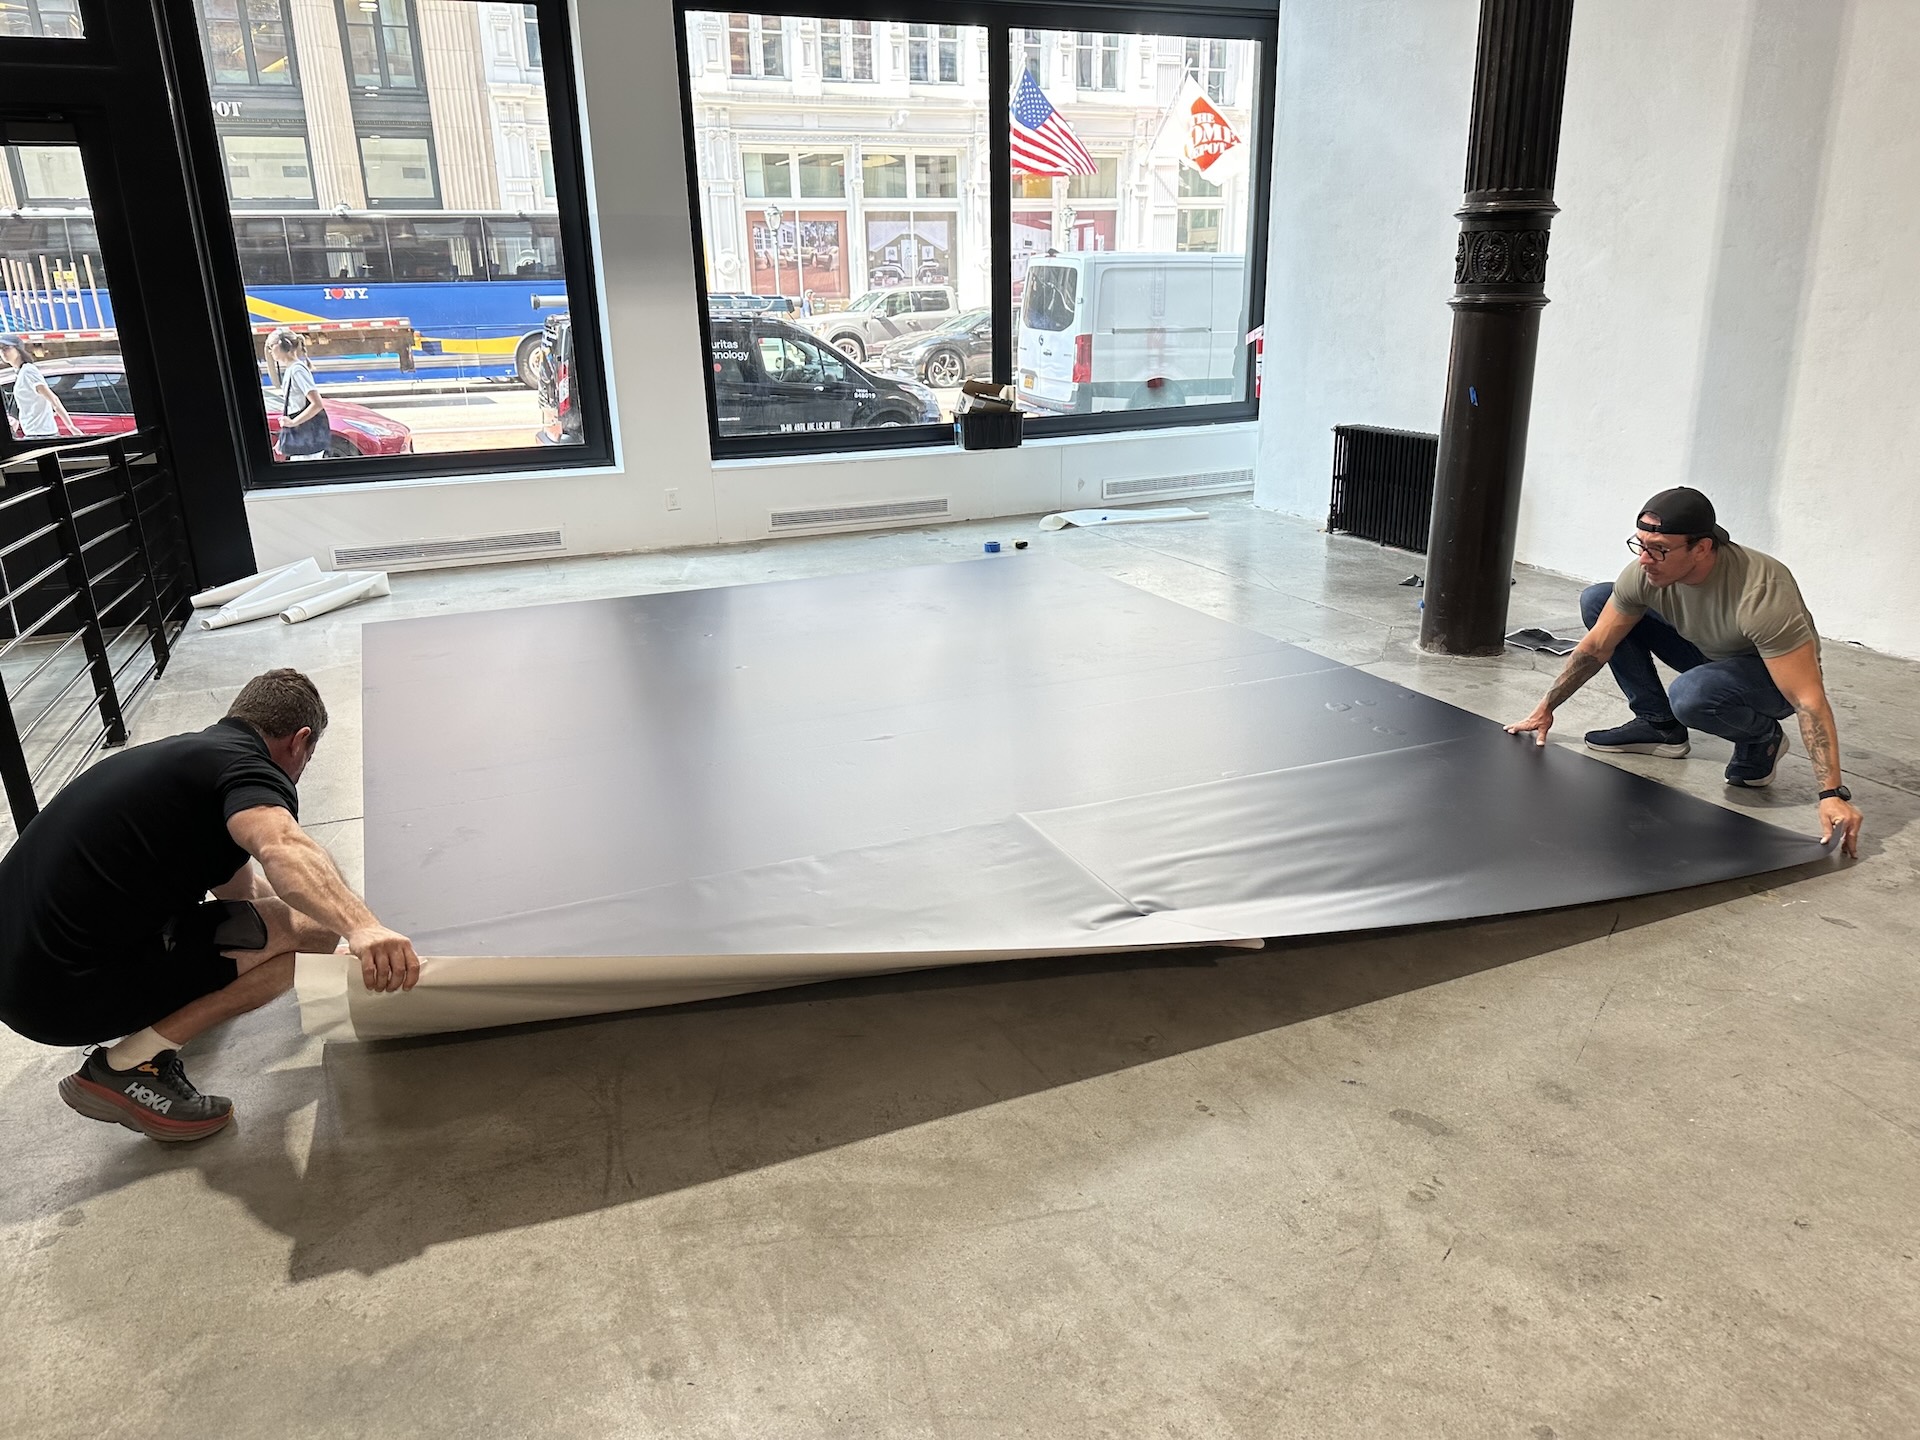
Before Set-Up.
What a meeting planner sees on the proposal doesn’t include every cable, converter, and accessory needed to execute an event. If it did, the proposal would be a mile long!
Once a proposal is accepted, we put it through our “scrubbing” process to make sure every piece of equipment needed to make the system work is accounted for. We call this our “pull list”.
After the pull list is created, the order is ready for our warehouse team to pull, barcode scan, and pack into cases so that nothing gets left behind.
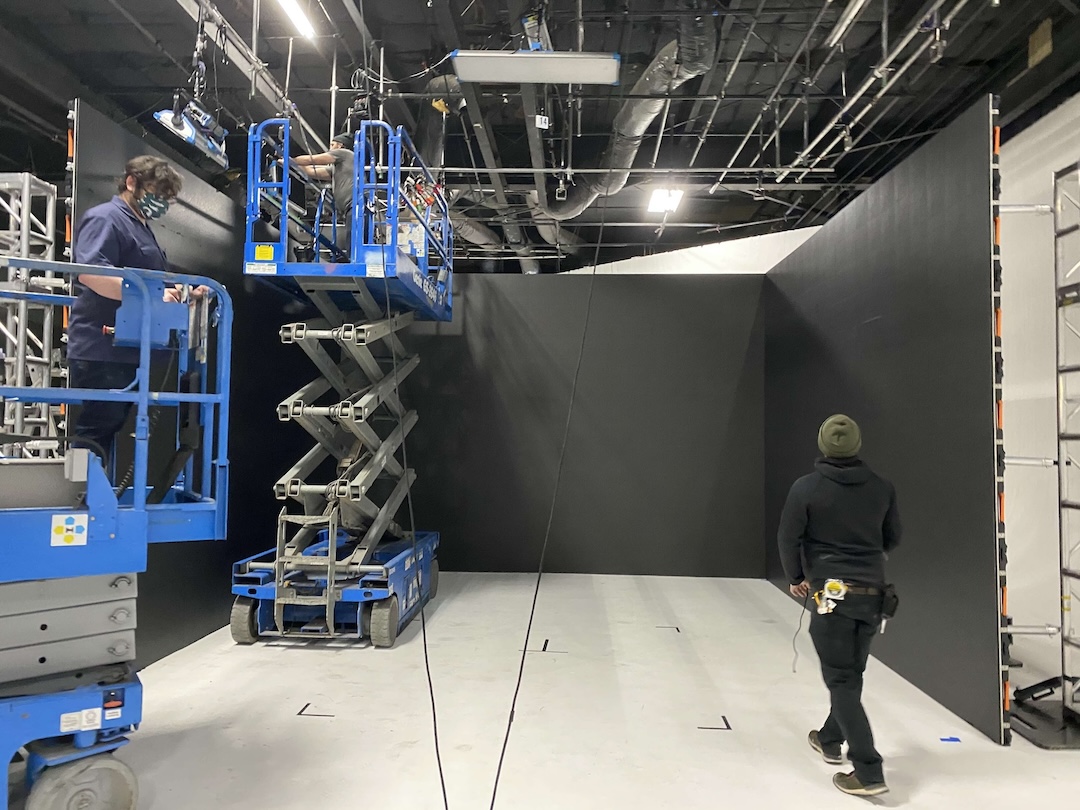
When we arrive onsite, we begin our equipment checklist:
- Make sure all equipment on the pull list is present and accounted for. This includes laptops, displays, lighting equipment, mixers, control boards, speakers, and more
- Make sure all necessary cables are present, as well as a few additional, in case they are needed. While quality testing should have taken place before the equipment was packed, it never hurts to have extra cabling onsite
- Make sure all necessary adapters (HDMI, VGA, XLR, USB-C) are present and there are extras
- Make sure you have all necessary ancillary equipment, such as gaff tape, batteries, scissors / pocket knife, a first aid kid, extra hard drives, and wireless chargers with full batteries.
- Double check that all outlets in the event space work
We also meet with the entire crew to:
- Distribute technical drawings to everyone participating in the event set up and make sure the lead for each area has a thorough understanding of the room set up and knows who to speak to about any questions they have
- Distribute set-up schedules to make sure everyone is prepared and aligned on what aspects of the technical set-up are being handled first.
- Make sure everybody responsible for set-up is in the right kind of clothing and has any necessary safety equipment
Testing After Set-Up.
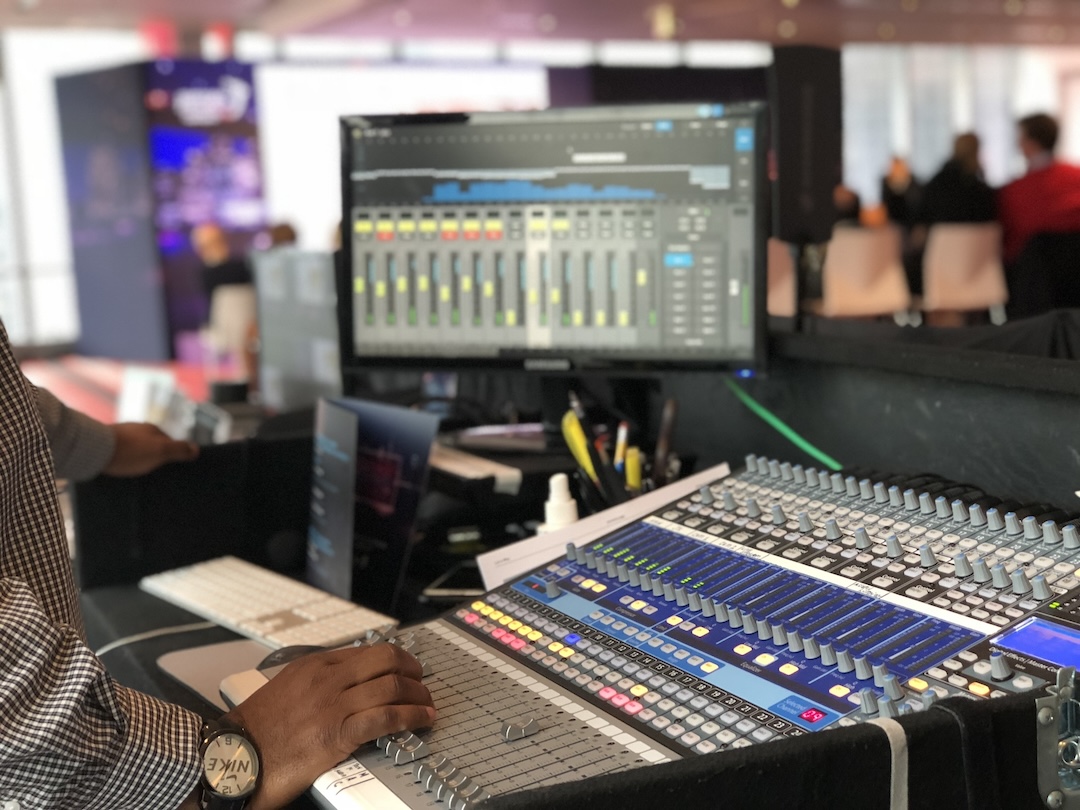
Audio:
- Test all microphones, including handheld, lavalier, headset, and podium mics for clear sound levels in various locations around the room
- Make sure the sound system is operating on the right frequencies and signals are clear
- Make sure audio levels are consistent throughout the room and speaker placement gives solid coverage
Playback / Graphics Machines:
- Test all playback and graphics machines, including backups, to ensure routing is correct and presentations / video content files are supported
- Utilize a slide advancer to make sure the signal is being received.
- Test videos to make sure audio is coming through the speakers correctly
Lighting:
- Test all lighting, including dimmers and full house lights
- Test each lighting cue, making adjustments if necessary
Internet Connectivity:
- If internet is needed for any reason, test your connection.
- Make sure to test your connection for the elements you plan to use it for. A live broadcast requires a stronger signal than refreshing your inbox, so make sure you’re testing the bandwidth as you intend to use it.
Streaming & Recording:
- If the event is being streamed, we make sure to test the stream from both ends, making sure anybody who joins the stream is able to see and hear correctly.
- If the event is being recorded, we take test recordings and playback the files to make sure everything looks perfect.
AV Rehearsal / Cue-to-cue:
- Conduct a rehearsal with the full onsite AV team that simulates the technical flow of the event. This “cue-to-cue” rehearsal should include transitions, lighting cues, speaker changes & VOGs, graphics, videos, lighting, and audio. Essentially, if it’s a cue being called during the show, it should be in the rehearsal.
- Make sure downstage monitors are visible from the stage and text is clearly legible
Safety:
- Make sure all cables are cleanly taped and there are no tripping hazards
Before the crew leaves:
- Make sure each member of the crew has schedules for subsequent rehearsals and events and a clear understanding of when they are expected to be present
Before Doors Open for Every Session.
Cameras / Recording units:
- Check that all recording units have been turned on
- Recheck the signal to all recording units
- Recheck the white balance on all cameras, as lighting conditions may have changed, especially in spaces with large windows
- Re-test each recording unit and watch the test recording back, including checking the audio
Audio:
- Install new batteries into all microphones
- Scan all microphone frequencies
- Test all microphones
Graphics / Playback:
- Turn on and test all graphics and playback machines, including backups
- Make sure presentations / videos are pulled up and ready
- Test all clickers
- Test teleprompters and downstage monitors
Lighting:
- Run through all lighting cues
Miscellaneous:
- Made sure all work stations are tidy, organized, and clearly labeled
- Double check that all cables are still taped and secure with extra tape if needed
During long days of set-ups and busy show days, it can be easy to miss an important step. Following comprehensive onsite AV checklists is an important component of quality control to make sure the entire event runs smoothly and everybody has a great experience.