


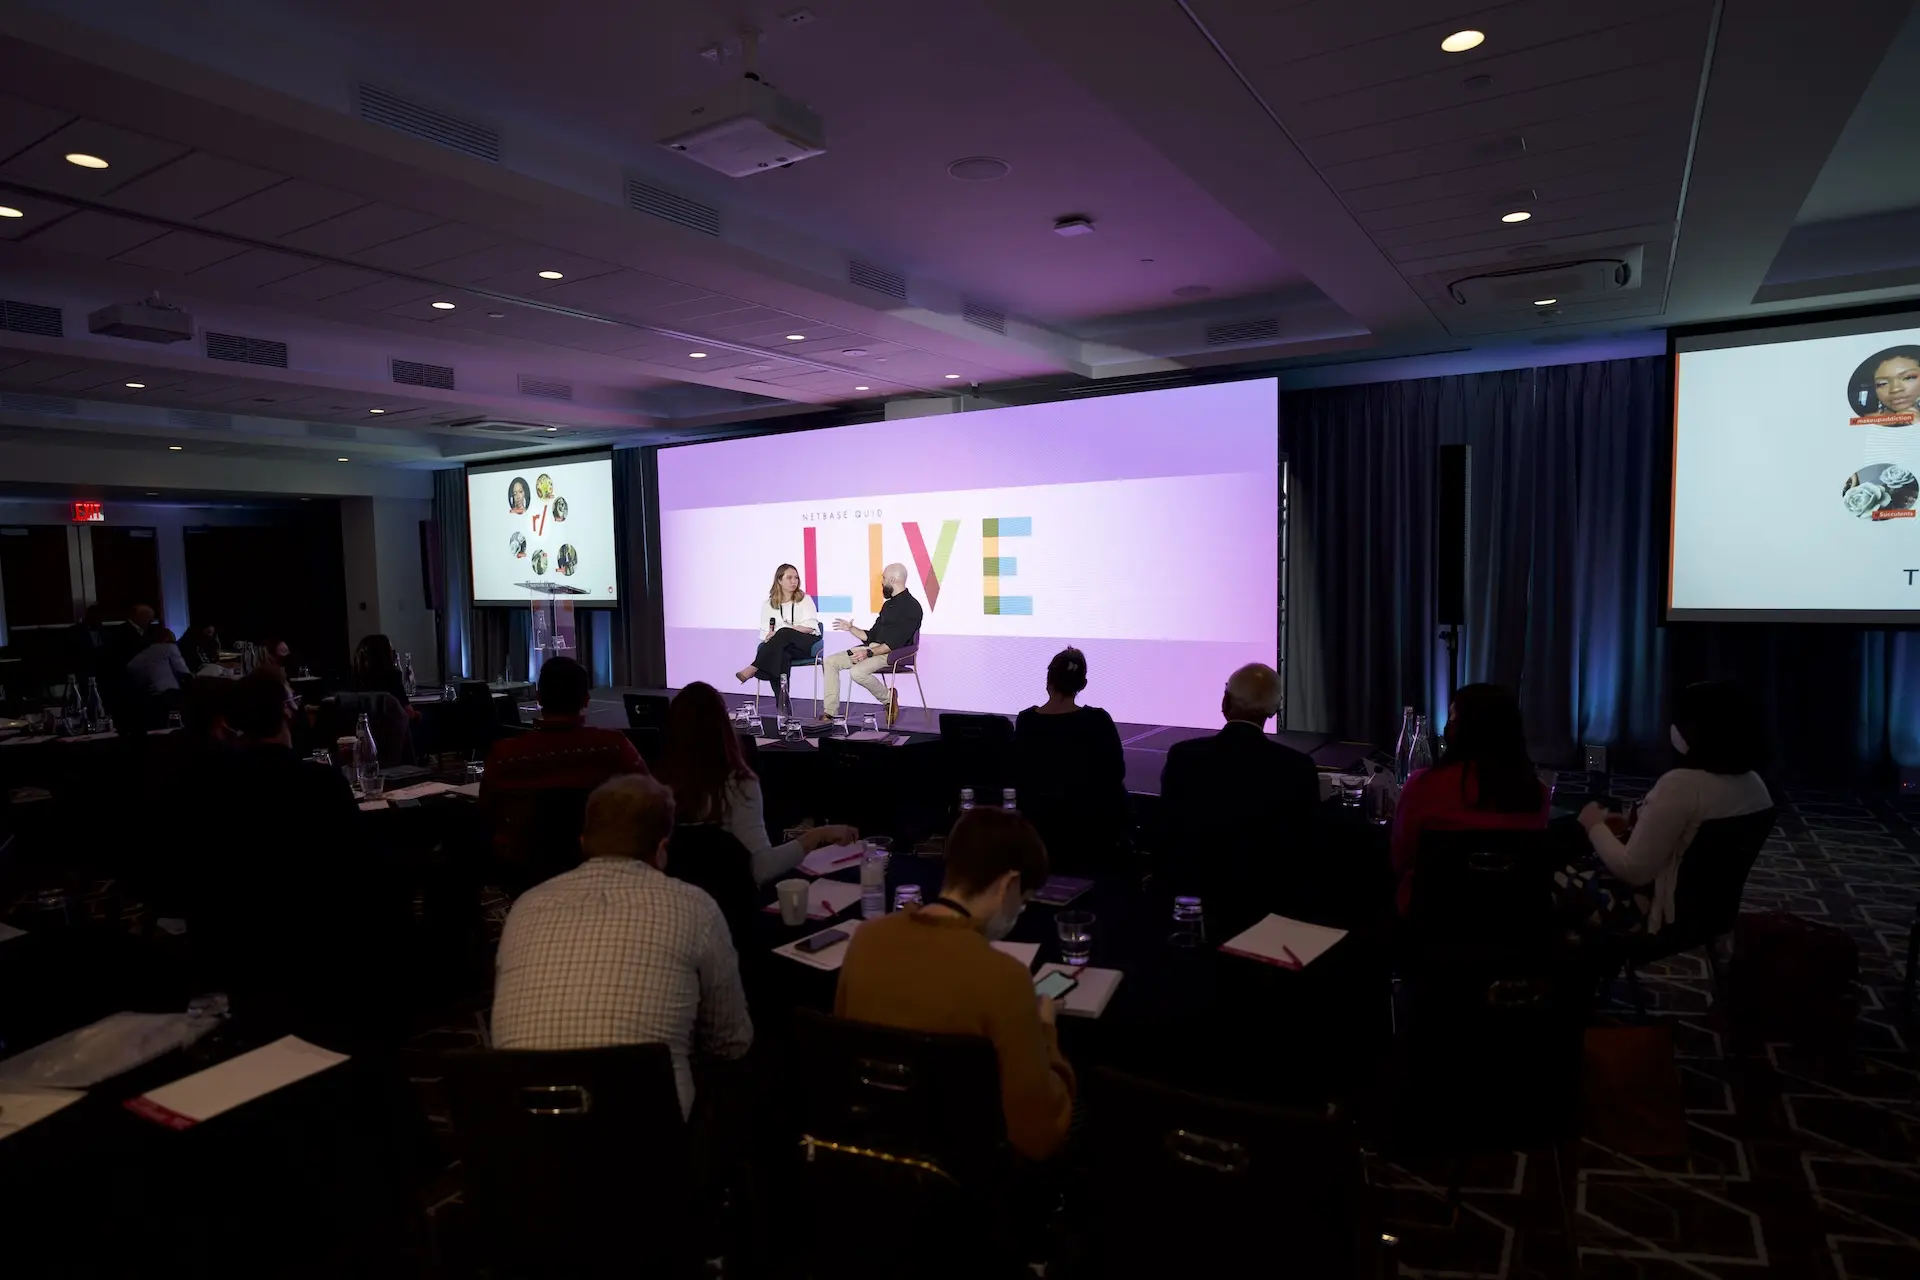
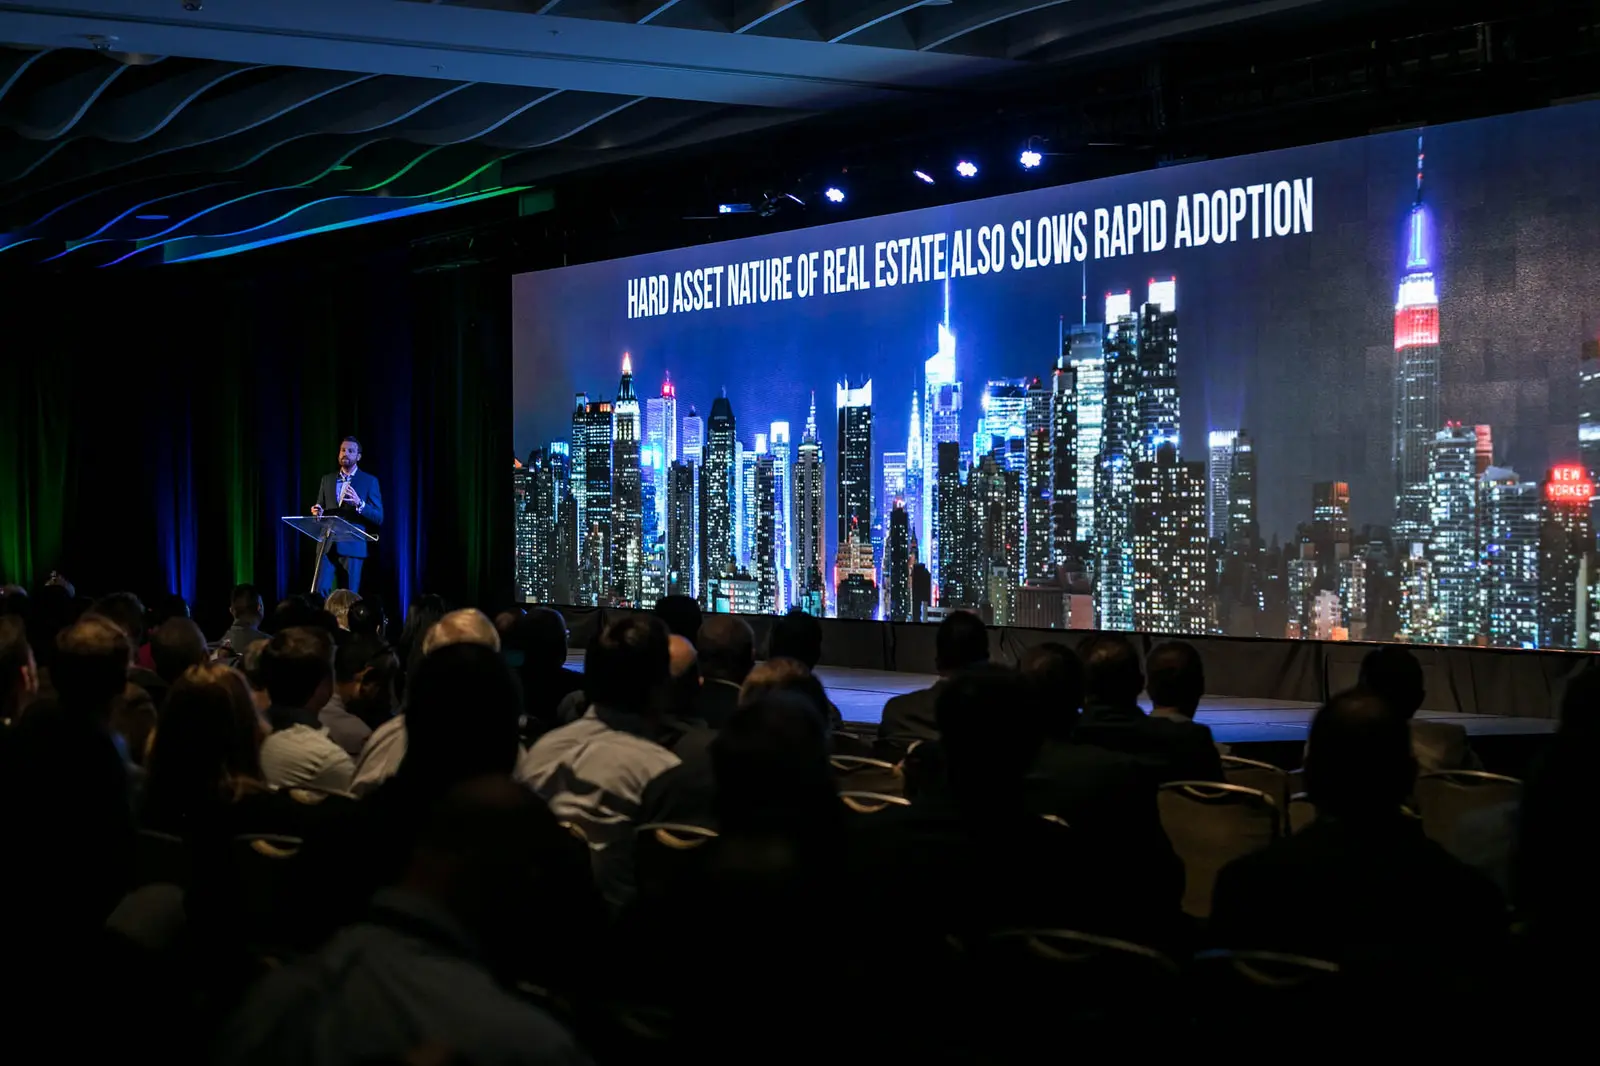
LED is an incredibly popular choice for visual displays for many reasons. The bright, contrasting colors that look just as good in broad daylight as they do in a dark room, the sharp blacks, the crisp visuals, the flexibility in size, shape, and deployments… the list goes on and on (and on and on and on). In fact, it’s largely considered the top choice, especially when the event budget allows for it.
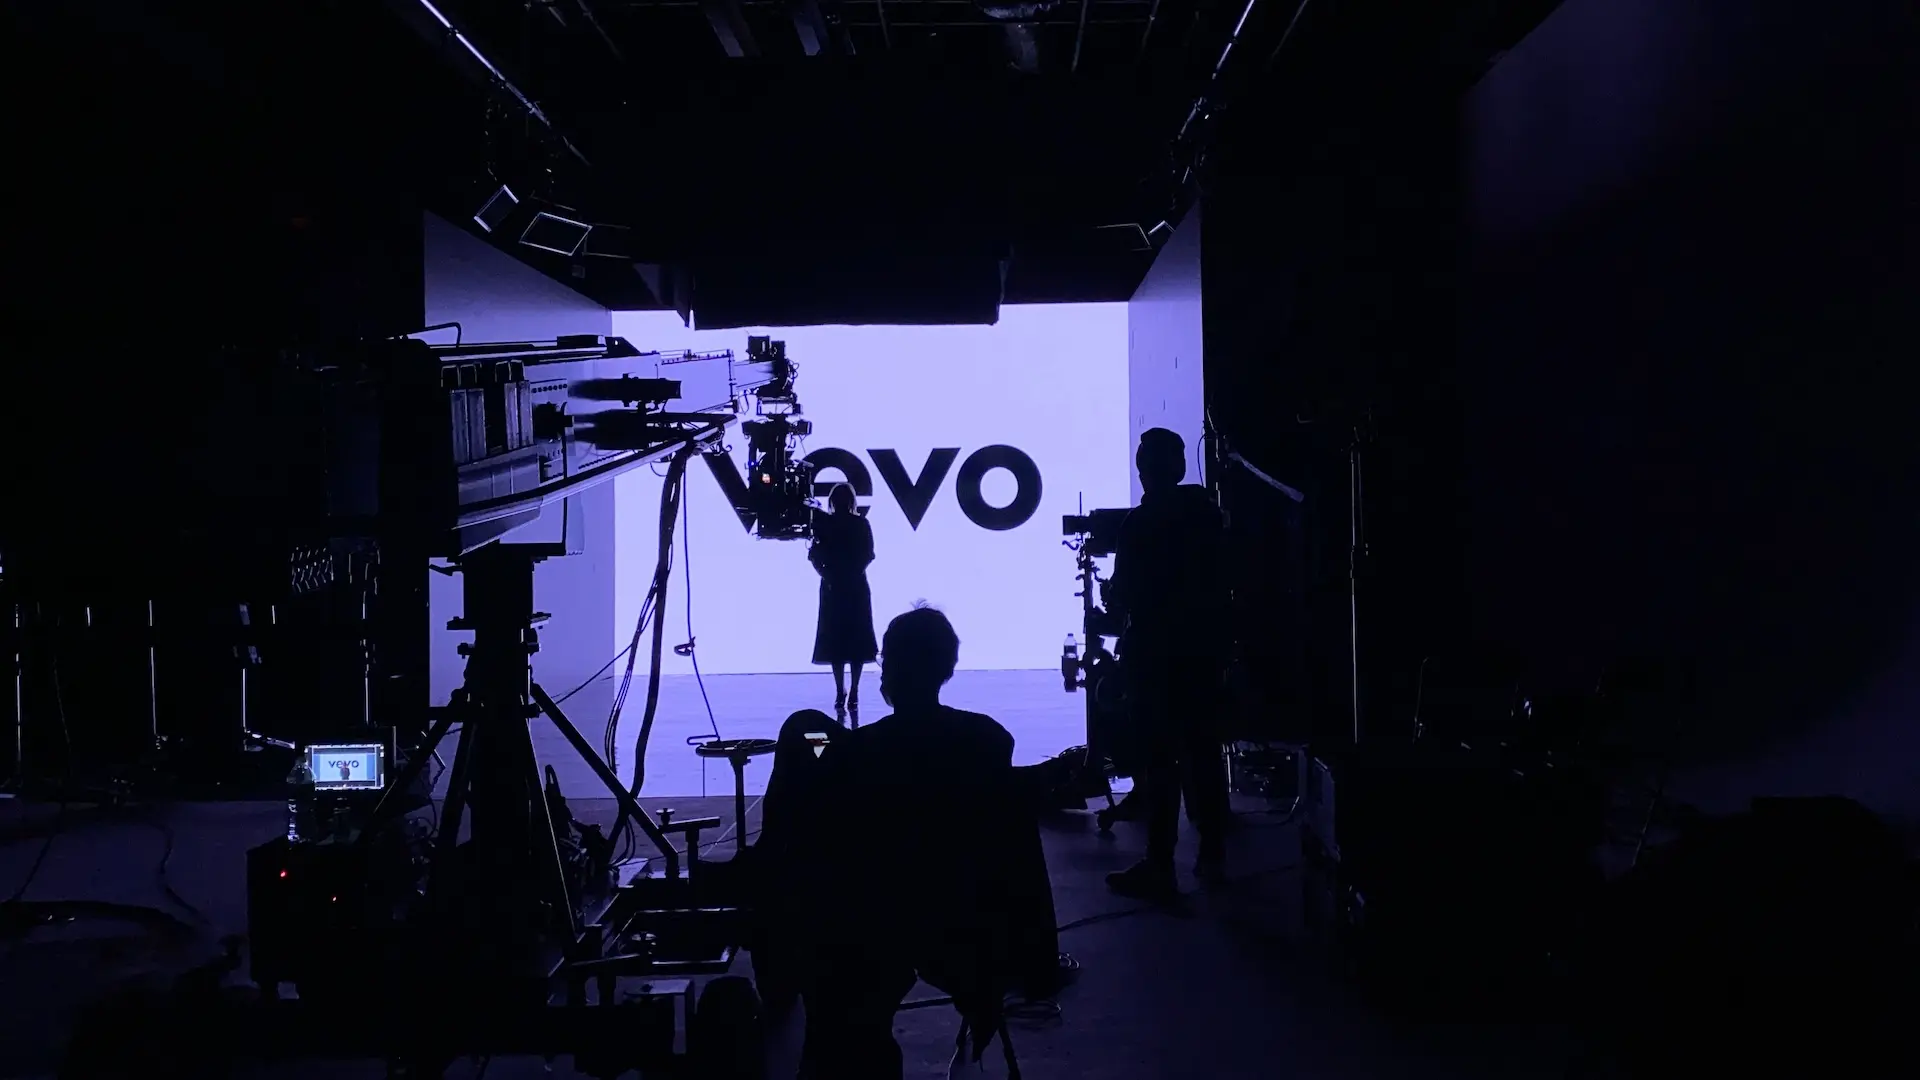
However, as LED is used more frequently, many people have had issues with their LED displays not looking good on camera. Videos, graphics, presentations, and even backdrops look great in-person – but in show records or even on IMAG during an event, the LED wall is noticeably off.
For people looking to use LED at their events without sacrificing the quality of their video, this begs the question, why hasn’t my LED looked good on camera in the past? And, most importantly, how can I make sure it looks incredible next time?
Why Some LED Doesn’t Look Good on Camera
There are three visual challenges we often see with LED on camera.
Flicker
When on camera, it may appear that the entire LED wall is flickering. As you zoom in, including in a relatively tight shot on a presenter, this flicker becomes increasingly noticeable.
Scan lines
Intermittent visible horizontal lines that don’t appear to the naked eye often are visible on photographs or filmed content. If your LED wall has scan lines on camera, they’ll slowly roll from the top to the bottom of the screen.
Moire
Anybody who works in film production is very familiar with this term.
Cameras usually have trouble making sense of tight patterns. When subjects being filmed are wearing something that features a small pattern, like tight plaid or thin, closely packed stripes, it results in a visual glitch. The fabric, which probably looks great in-person, looks wavy, like a rainbow or shimmering lines, creating an effect that almost makes it look like the fabric is moving.
It may not seem like a big deal to have an outfit look a little different, but it actually makes a really big impact. The effect is incredibly distracting for viewers and can even have a strong “strobing” effect that’s uncomfortable to look at. It makes the entire subject look like they’re glitching.
What does this have to do with LED walls? Well, because LED walls are made up of tightly packed pixels, the same thing can happen.

What Causes These Issues?
Mismatched refresh rates
LED screens refresh in lines. Of course, these refreshes happen incredibly quickly, so somebody watching it in-person would have no idea it was happening. However, cameras also refresh, and when the camera is capturing frames at a different speed than the LED surface, it may miss part of the surface’s refresh cycle, leaving a gap between the two mediums.
Like the LED refresh, the gap is quick – but it is long enough to be noticeable.
Camera shutter speed
Similarly, when the exposure time on the camera is shorter than one LED scan cycle, a black scan line may appear on the camera.
Dark content
LED is known for its true blacks and bold colors, but when all of the content is especially dark, the LED’s refresh rate may slow down. This creates an even bigger gap for the camera to catch.
The presenter standing too close to the wall
This problem is specific to moire. When the presenter is standing too close to the LED wall, the camera doesn’t know how to separate the subject from what’s behind them. It starts blurring whatever is onscreen with the presenter or their clothing, even if no tight patterns are being used.

How to Fix It
All of the possible issues that could present themselves when your LED will appear on camera may seem daunting, but the fixes for each are actually pretty simple – and a good AV team likely already has these steps as part of their process.
Match the refresh rate between the LED wall and the camera
The camera’s shutter speed is highly adjustable, so all the production team has to do is match the shutter speed and frame rate on the camera so that it’s in sync with the LED wall’s refresh cycle. And presto! No more flicker or scan lines.
Manual focus
The primary focus of the camera typically isn’t the LED surface, but what is going on in front of it. The videographer should soften the focus on the LED slightly, which will make the visuals slightly softer, and place the focus on the presenter. This will naturally reduce moire while directing attention where it should be in the first place.
Have the presenter stand at least 8 feet in front of the LED surface
When the presenter is standing right up against the LED, it’s harder for the camera to see them as two separate objects, even with a manual focus. However, when you shift the presenter forward, it creates a greater depth of field. This naturally puts the LED wall slightly out of focus and creates separation between the presenter and the background.
As an added bonus, it also brings the presenter closer to the audience, making their presentation feel more engaging and interactive.
Work with a skilled AV team
“Sure” you may be thinking “of course you think these fixes sound simple. But you’re experts in this! To me, it still sounds overwhelming.” And that’s fair.
If you aren’t experienced working with LED, production cameras, or the two of them together, it may feel like half of what you read was in a technical language you’re far from fluent in. Luckily, it’s not your job to manage how the LED surfaces look on camera – it’s ours.
A good, experienced AV team won’t need reminders to do any of these things. It’s baked into their process. Any time they’re using a camera in combination with an LED surface, these settings and steps are another item on the checklist. Just like running tests to be sure the LED display looks good on-camera to avoid any surprises down the road.

Do any of your upcoming events involve filming against an LED surface? Contact us to learn more about how we can make your stage and your presenters shine!